Taylored Life

To keep people informed of what the family has been up to...

JDT Birthday TickerAMT Birthday Ticker

Thursday, March 18, 2010

Moving Blog

Blogger is eliminating FTP support, so I have to move the blog. It will be moving to http://life.tayloredtruth.com. Blogger will generate an automatic post when the move is complete and will setup forwarding from the old location to the new. I will post again after with updates. If you follow projects only, those posts will now be found at http://life.tayloredtruth.com/search/label/projects. I will update the current life blog feed and projects feed so if you follow the feeds, you shouldn't need to update.

Labels: ,

Sunday, May 03, 2009

Ready, Set, Go!

In the last two weeks Jackson has been on the go. Not only is he an expert crawler now, but he's pulling up on anything and everything. He also knows exactly what he's not supposed to get into, and goes straight for it! He's definitely keeping us on our toes. His favorite things to get into are the candles by the fire place (see pic below), the electronics by the TV, and of course, Bailey's dog bowls...they're twice the fun because they make noise when hitting the floor and have water to splash.

Jackson Reaching for Candle

He's really starting to figure out toys too. He's great at opening and closing things, and he's started putting objects in things and pushing buttons to get a specific response. His train provides lots of entertainment with the seat that opens and closes, levers to push and pull, and being able to ride or push it. He has a blast with everything he does!

Jackson Playing with Train

There are several more pics of Jackson playing and having fun today in the album.

This weekend had it's ups and downs. Yesterday was fun and relaxing for me and Jackson. While Ross spent the entire day rebuilding our patio cover, which looks great, Jackson and I went to the park with our friends Emma and Clara. Then Jackson and I hung out in the backyard with Ross. Jackson got a baby pool to play in, but it was a little too cold still to be in it. Instead, Jackson had fun leaning over the edge, splashing the water and putting things in the pool.

Today wasn't as relaxing...Jackson decided he didn't need a nap today, which was a first for us. He's refused naps at daycare before, but never at home...it made for a long day. I say that, but he was still very happy overall. All of the pics in this post were taken today, so you can tell he didn't struggle with it too much. It was just around the times he was supposed to be sleeping that were difficult.

Labels: , , ,

Sunday, March 29, 2009

Garage Project

Everyone will be happy to know Jackson is drinking well again! Thursday he drank only from a sippy cup at home, but Friday he took the bottle again. He even did well at day care, and he's done well all weekend!

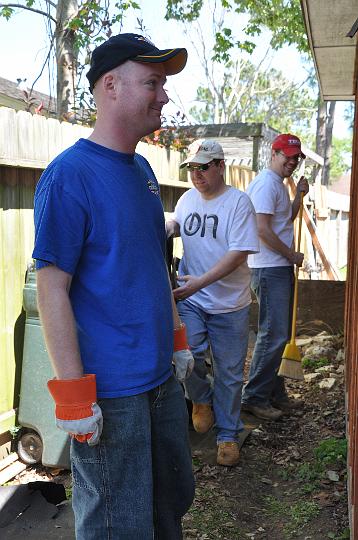
We spent the weekend redoing the siding on our garage with the help of a bunch of great friends. Thank you so much Andrew, Todd, Jeff, Eric, and Zack! Many thanks to the wives (and one fiance) who let their husbands help, kept me company, and helped watch the kiddos. It was a lot of work for two days, but the majority of the work is done.

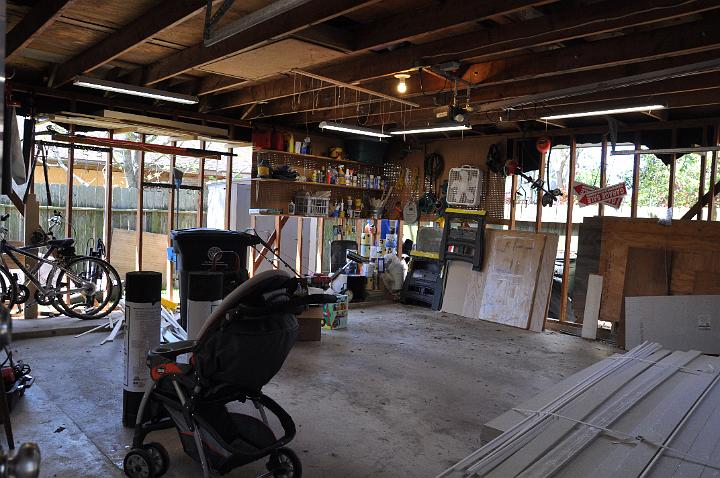
The bottom of our garage was rotting away, so we decided to replace the siding with Hardie Plank. We originally planned on just paying someone to do it for us, but after receiving a quote for $8000, Ross decided he could take care of it.

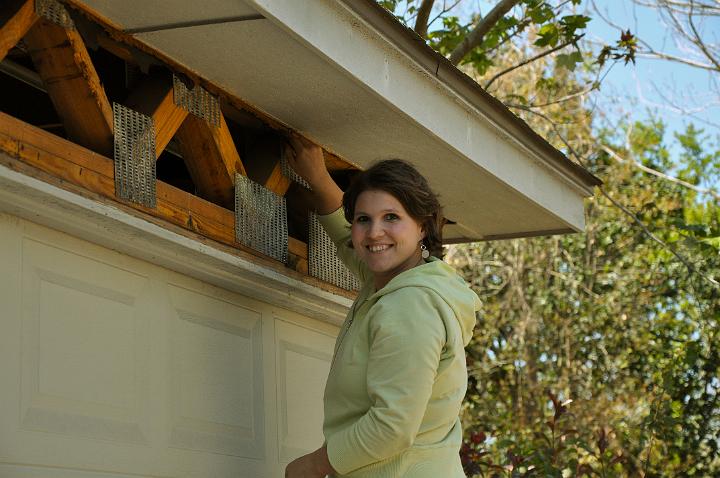
It was a learning process for everyone invloved, but they did a great job. The first step was demolition. I think the guys had a little fun with this one. After a very short time, this is what our garage looked like.

Demolition CompleteDemolition Complete

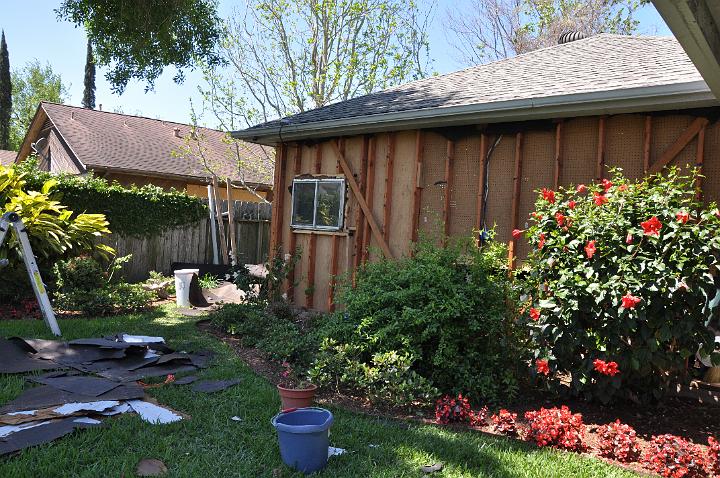
The next step involved stapling roofing felt around the studs. This part was done very quickly.

Roofing Felt Complete

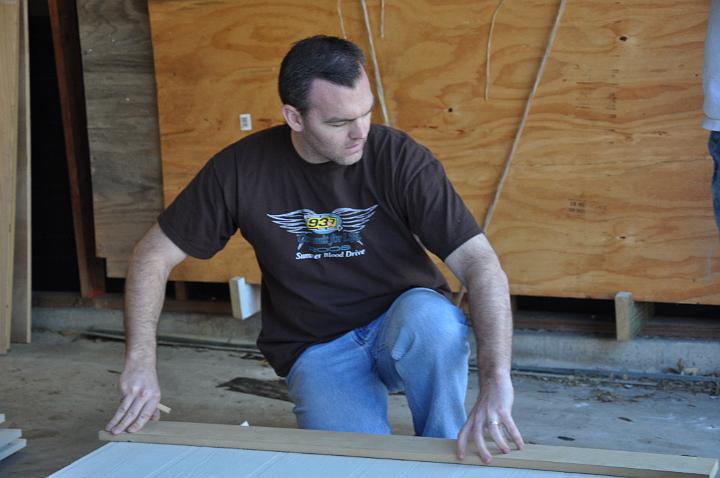
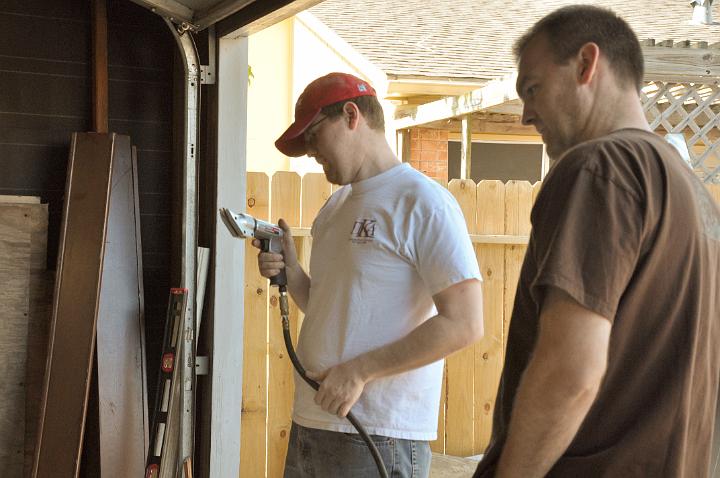
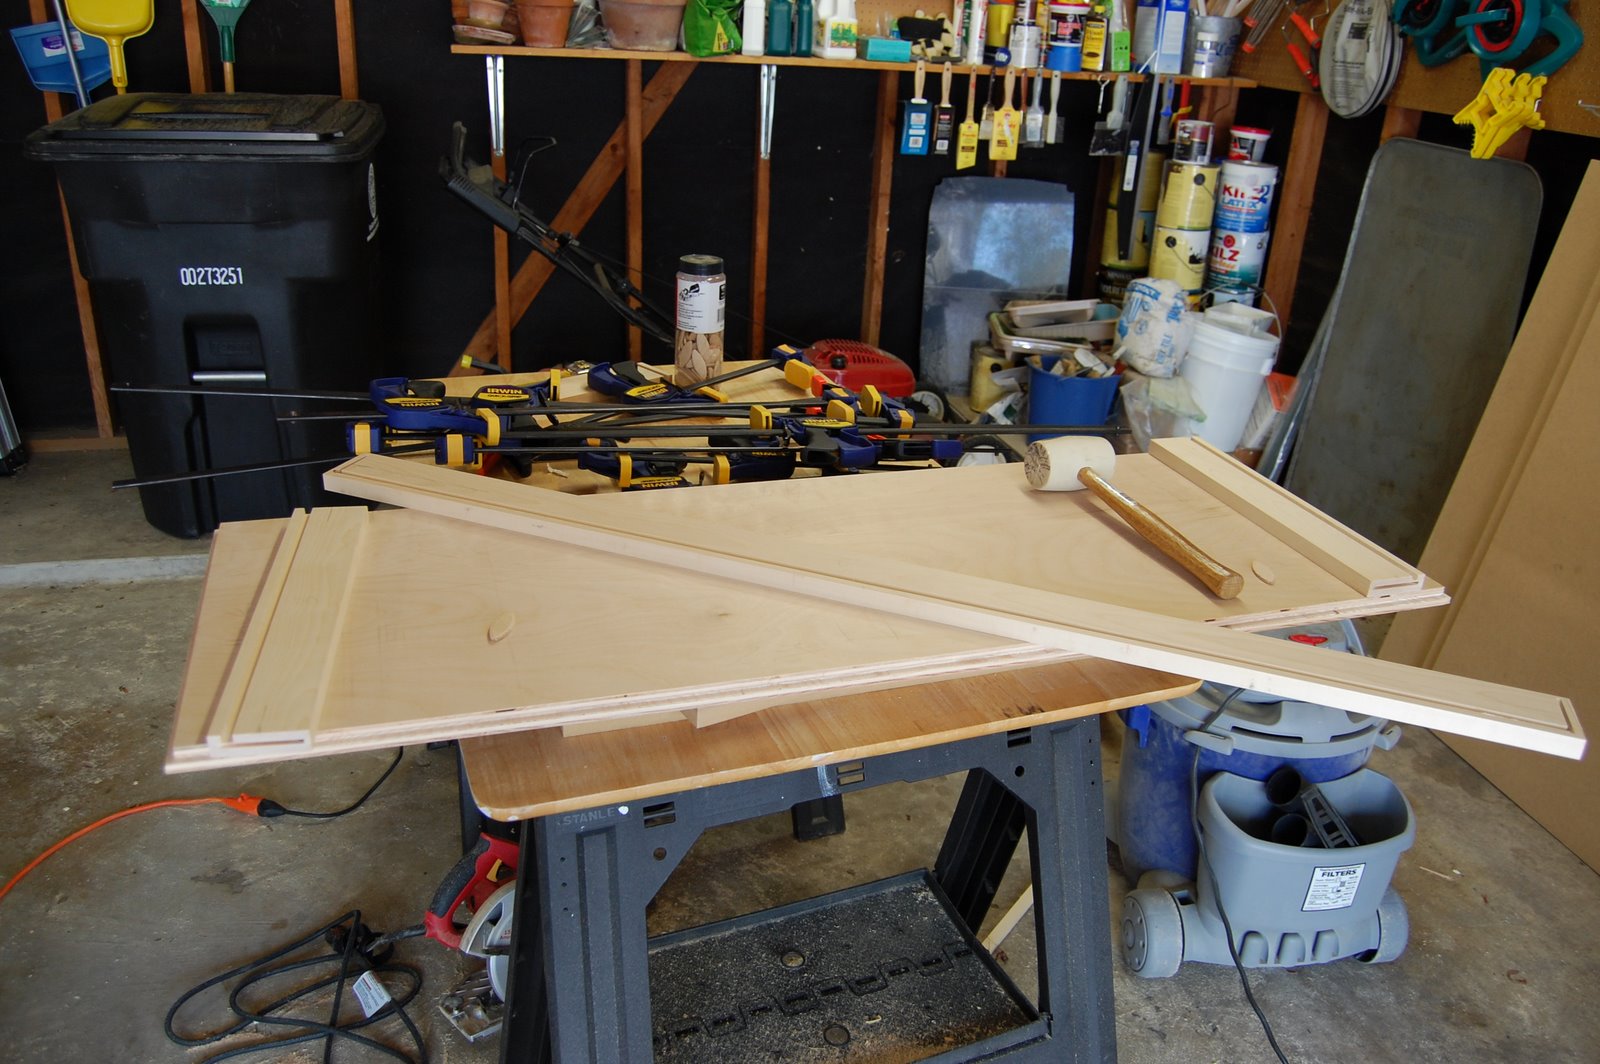
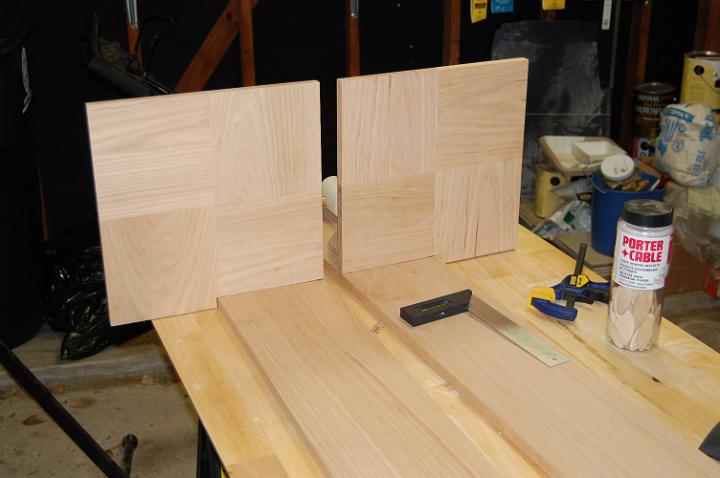
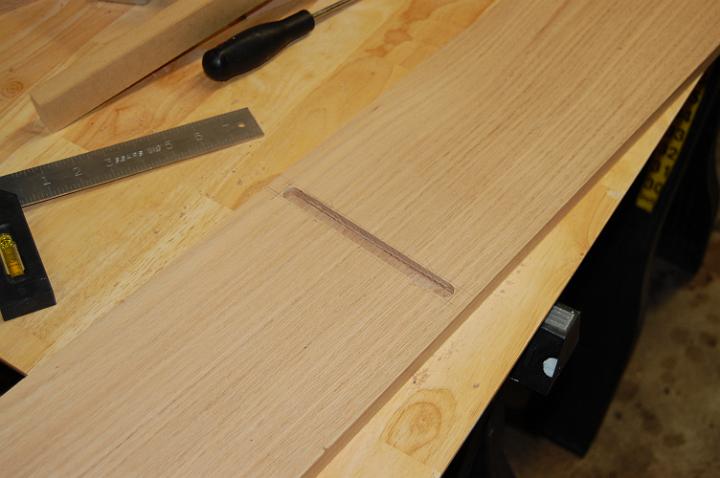
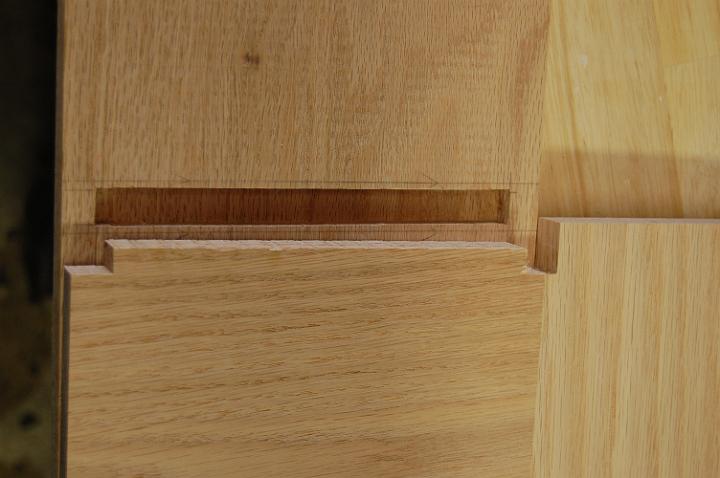
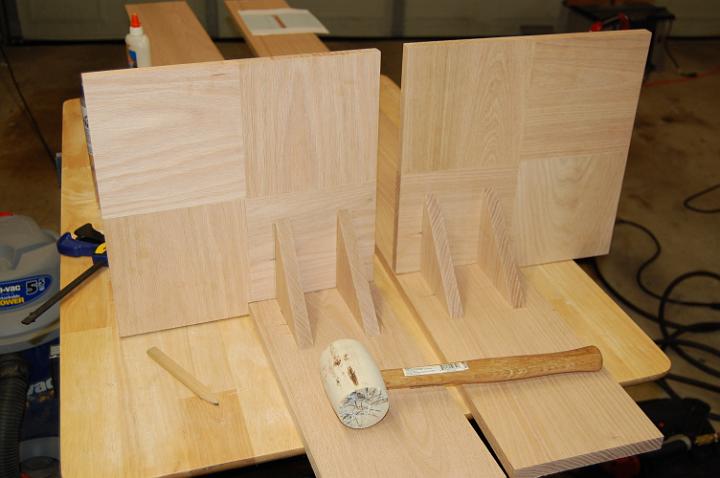
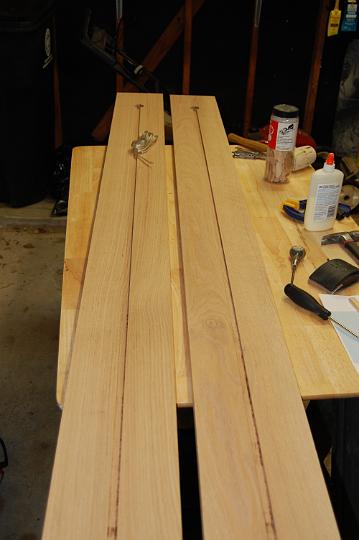
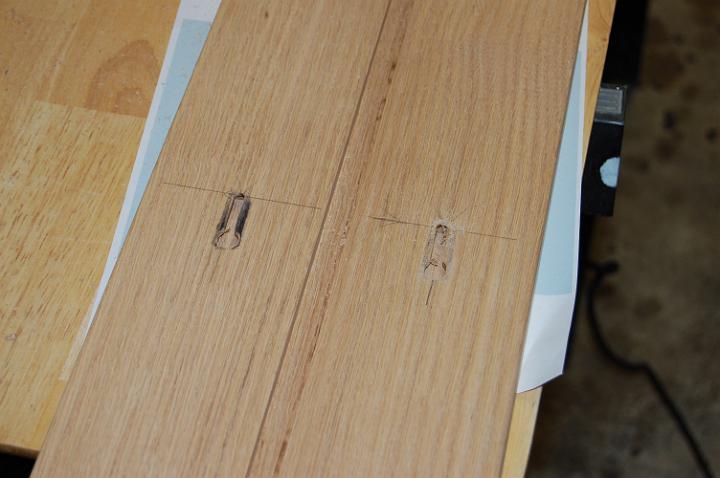
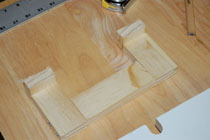
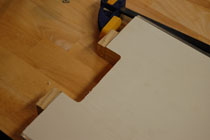
Putting up the Hardie Plank proved to be a challenge, but one they successfully completed today. If you didn't know, you can't simply cut Hardie board with a saw, these guys had to score and break each piece. I think there are expensive tools out there to make this easier, but they didn't have one! By the end of the day Saturday, the guys had completed the Hardie Plank on one of the walls of the garage. Impressive progress for a single day! We did have one minor injury towards the end of the day, but luckily it didn't require a trip to the ER! Here are a few pictures from Saturday.

DemolitionScoringDebating

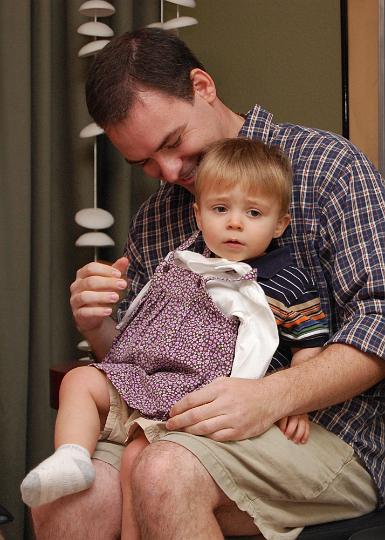
While Jackson and Quin took a nap, Bekah and I helped a little. Mostly with clean up though.

Bekah Helping

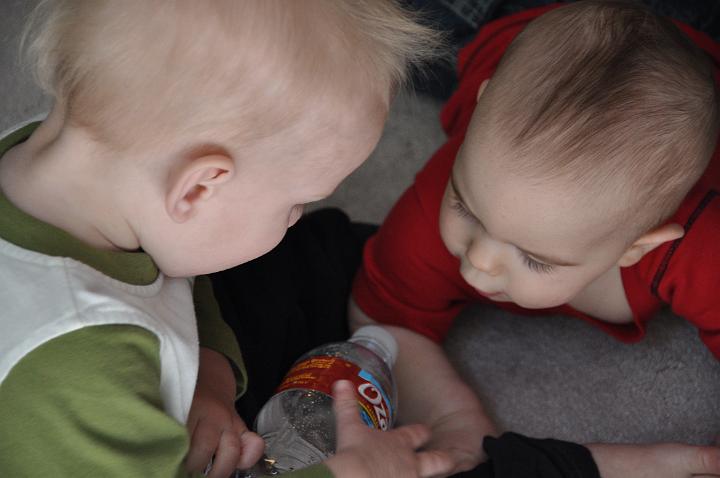
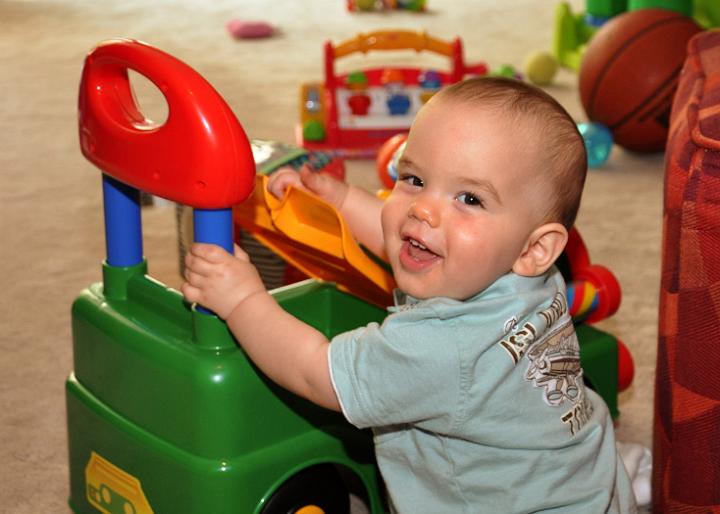
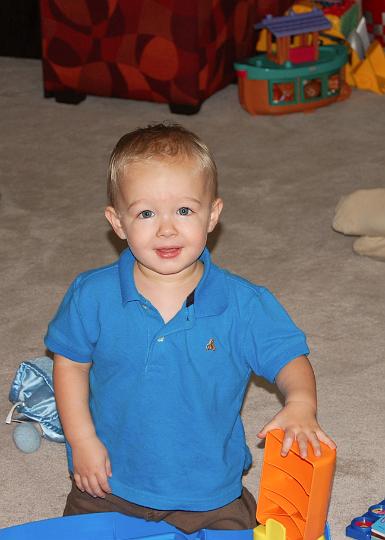
Jackson and Quin spent almost the entire day together playing, and at one point I think there were 6 little ones running around our living room. They seemed to have a blast for the most part.

Quin and Jackson

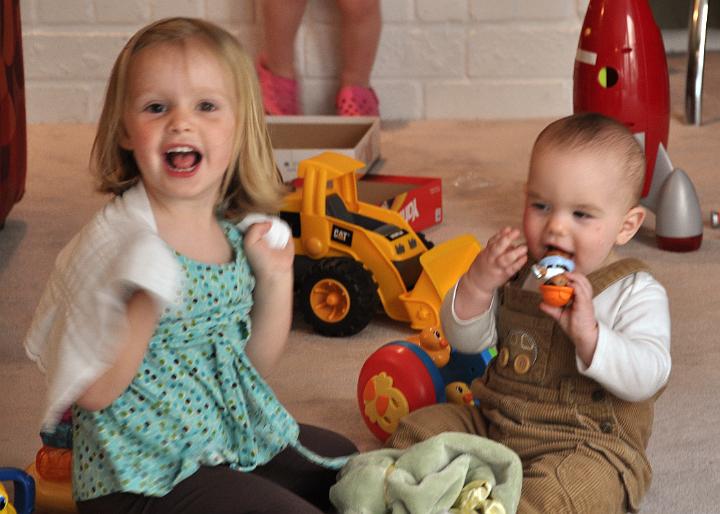
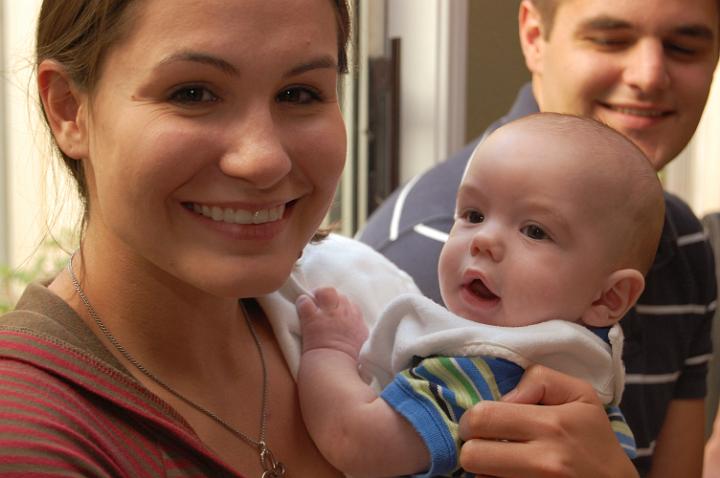
Today Andrew and his son Nathan (almost 5) came back over and helped finish the job. Nathan helped me take care of Jackson. He was a great entertainer. He could really make Jackson laugh. Later in the day Rhea came over with more entertainers and more help! A family friend of theirs, Zack, helped finish off the Hardie Plank while Rhea and I took the kids to the park down the street. When we returned it was Elena's turn to make Jackson laugh. This time we managed to get a picture.

Elena and Jackson

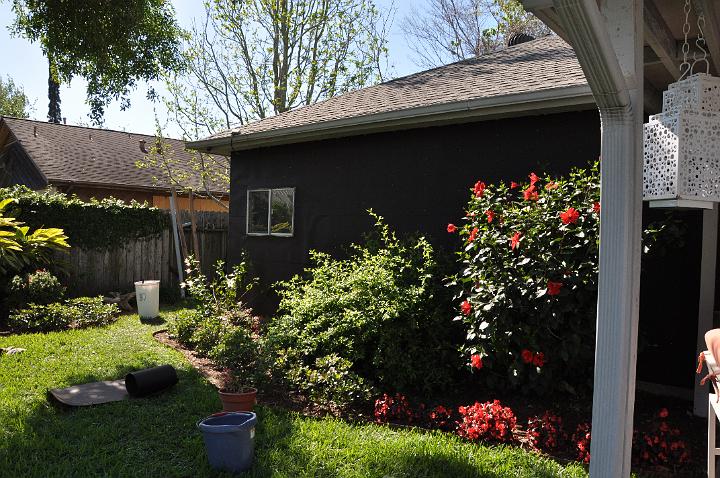
By the end of day two, this is what our garage looks like.

Hardie Plank Complete

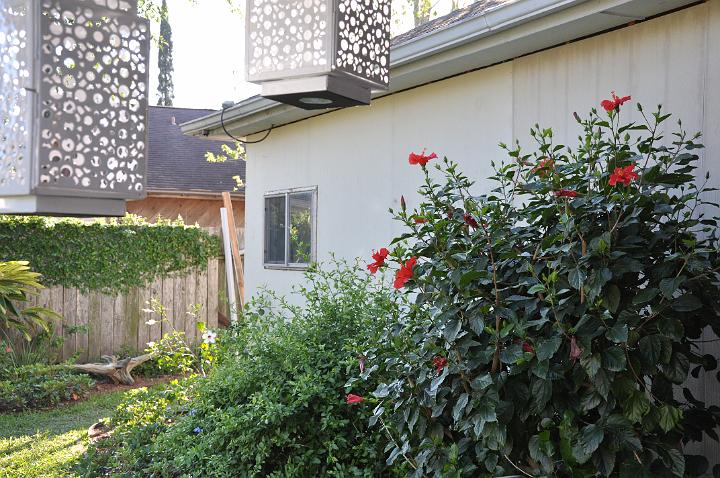
We have a little more work to do, but the hardest part is now done. We just need to put in a few final nails and put up the trim. Then we'll be on to the next project...our patio cover or fence!

Labels: , , , , ,

1 Comments:

Blogger brad, kammy, and mason said...

So glad that Jackson is feeling better! The garage looks great... an awesome job by awesome friends! :)

March 30, 2009 7:40 PM  

Post a Comment

Hide Comments

Sunday, October 19, 2008

Catching Up

So we're a little behind on our posting as far as the events in our lives are concerned. This has been a busy week for the Taylor family. Last weekend our friends Heath, Barbara, and their son, Carter, came to visit. We had a great time! It was a short visit, but filled with quality time. Whenever we go to Louisiana we always spend time with our families, so we don't get much time to spend with friends. We didn't really do much. We just spent the time visiting and catching up, and of course doing a little shopping. :-)

Jackson got an exersaucer last weekend, and he has been loving it. I can't believe how many parts they come in! I guess this is probably just the beginning of many, many hours we will spend putting together toys for Jackson. Even Carter put in some time helping us put all of the pieces together.

Carter

Columbus day was a holiday for those of us that work for the government, so Ross and I took advantage of the extra day and started working on our front yard, which was in desperate need of some attention. Since Jackson came along, it's been left untouched with the exception of the occasional mowing that the summer necessitates. Ross spent several back-breaking hours extending flower beds and putting in edging. In the process he took out a good chunk of a root from the tree in our front yard, so we're hoping it doesn't die or fall on our house! We finished the majority of the planting work yesterday. We still have a few more flowers to plant and some mulch to put down, but it's looking a lot better! We have some plans to extend our front porch/patio as well, but that will have to wait until after Ross gets back from Hawaii.

I spent most of my evenings this week preparing for 2 baby showers. The first one for Jennifer and Eric was today, and the second one for Christie will be next Sunday. I had a lot of fun putting together these "sweet thing" favors and making a diaper cake for the shower today.

Sweet Thing

This will be Jennifer and Eric's second baby, so they mostly got diapers and clothes, which was perfect. Their first kid was a boy, and they are expecting a baby girl, so some fun girly clothes were a must. You can tell Dad and big brother, Scott, are excited about them...

Eric and Scott

Of course, we can't have a summary post like this without at least one picture of Jackson, so here's a picture of Pam holding our sweet little boy. He had his 4 month checkup this week, and is continuing to grow at about the same rate. He's a little above the 50th percentile in height now, and he's still in the 25th percentile in weight and head circumference. The doctor said we could start him on solids whenever we're ready. It may not be long, but I'm not ready just yet!

Pam & Jackson

We've posted pics from the shower today and our visit with the Tims in the album, so be sure to check them out!

Labels: , , , , ,

Tuesday, June 10, 2008

Baby Room Woodworking

First, a quick update...we are still waiting for Jackson to decide he is ready to come. As E said last week, labor will be induced on Thursday unless he decides to come before then. However, E has gotten sick with a stomach bug that has been going around. She checked with the doctor and they may delay the induction if she still isn't feeling well tomorrow. I guess we'll see what happens...

While we wait, I figured I'd talk a little about the woodworking in the baby room. Elizabeth posted pictures last week so have a look at that (because I don't feel like posting more right now - sorry). The dresser was a fun project and it turned out pretty good. I talked about the plan a while back and have posted one update. The project went pretty smoothly because of my experience with the desk. It is a fairly simple MDF case on a stained birch base. The tolerances were pretty tight because of the overlay drawers but it worked out pretty well. The one new experience is that I got a paint/stain sprayer to try to make finishing easier. It worked really well and I am happy with it. The biggest problem with the dresser is that I didn't realize the "clear" polyurethane actually has a bit of a yellow tint. You can't really tell in the pictures but it is noticeable in person. I guess I could sand it down but I don't think it is worth it.

I'm really happy with the wall art...it is just three pieces of MDF glued and screwed together. I got a circle jig for my router that made the circles pretty easy. After setting it up and cutting, they just needed a little sanding to fix the irregularities. They are hung with my standard keyholes. This particular project made me really feel like a woodworker because I had the required materials laying around and didn't have to go buy anything. I'm not sure that will happen very often though since I usually take on big projects.

Labels: , , , , , , ,

Thursday, April 17, 2008

Back Yard Makeover

I just carried about 15 bags and probably 500 pounds of yard trash down to the curb for pick up tomorrow! Last weekend, E and I talked with Jim Maas, the owner of Maas Nursery, and he helped us sketch out a new design for our backyard. The rest of the weekend was spent digging up grass, installing steel edging, cleaning out plants, and spreading new dirt. Today, we bought about 80 new plants that we will be putting in this weekend. It's backbreaking work but hopefully it will look nice.

Labels: ,

Monday, March 31, 2008

Dresser Progress

I've been making some pretty good progress on the dresser for Jackson's room. Yesterday, I started painting. The drawers still need to be made but it is probably going to be ready pretty soon if I can find some time to work on it. Below is a picture of the base just before glue-up. I'll try to get some more pictures up soon.

dresser base

Labels: , , , ,

Tuesday, March 11, 2008

Jackson's Room Coming Together

Jackson's room is starting to come together! Since Elizabeth painted the room, we have gotten old furniture out and some new furniture in. We got the crib and glider. The picture below shows the current state of the room (it's a panorama so it may look a little off).

Jackson's room

In addition, E has designed and I have modeled the two pieces of furniture that I intend to build. I'm going to start on the dresser pretty soon and if it goes well and we decide there is enough room, I'll then make the book shelf.

dresser designbookshelf design

Labels: , , ,

1 Comments:

Blogger Brandon & Jenny Deitz said...

SERIOUSLY! How cute is that room?! Really - will you decorate every room that I ever occupy??

March 12, 2008 3:13 PM  

Post a Comment

Hide Comments

Saturday, February 16, 2008

New Fans

I spent the vast majority of the day today hanging 3 new fans. Elizabeth has hated our fans since we moved in and we've just been putting it off. After putting one up in Jackson's room a couple of weeks ago, we realized that it isn't that big of a deal. We got the 52" Harbor Breeze Tiempo in white (first picture) for the living room and our bedroom and the 42" Harbor Breeze Cheshire in white for the guest room (second picture), which is also what we put in the baby room. I've definitely come to the conclusion that, if you want to make a quick update to your home to sell or just so that it feels newer and you only have a few hundred dollars to spend, the best bang for the buck is paint, fans, light fixtures, and shower heads. These things are relatively inexpensive and make a huge impact.

Living Room Fan
Guest Room Fan

Labels: , ,

Wednesday, February 13, 2008

Finished Bed Side Tables/Lamps/Headboard

Today, I completed the bed side tables for our bedroom (previous post), hung them on the wall, and wired up the integrated lamps. I know it sounds a little strange, but it is all part of the headboard design that Elizabeth came up with. This post has a lot of implementation details on the bed side tables. Also, the picture includes the photographs that we hung some time ago but haven't posted a picture of until now.

Completed Headboard

Labels: , , ,

1 Comments:

Anonymous janet said...

Hey, that's cool!

June 7, 2008 5:41 PM  

Post a Comment

Hide Comments

Tuesday, February 12, 2008

Stain and Polyurethane

This morning, I put the last coat of polyurethane on the bed side tables. I have to say that staining and applying polyurethane are among my least favorite activities. Anyway, I decided to finish the wood before assembling, so I taped off the areas that will get glue and I'll be putting everything together tomorrow. Hopefully, I'll have pictures soon.

Labels: , , ,

Tuesday, January 29, 2008

Bed Side Tables

For the first time in six months, I've done some work on the headboard for our bedroom. I've been putting it off partially because of the complexity of what I am trying to do. If you aren't familiar, see this post which talks about the design and shows a drawing of the plan. Basically, I'm trying to create bed side tables with integrated lamps that hang on the wall as part of the headboard. Incidentally, we've added the pictures to the headboard but I haven't uploaded an image yet.

The tables are cantilevered from the vertical board but are about twice as wide as the vertical board so the joinery is not straightforward. The picture below shows the dry fit tables and a more detailed description of the work follows.

bedside tables

First, I created a simple jig to rout slots in the vertical boards.

Router JigRouted Slot

Next, a little chisel work squared off the slots and a dado blade on the table saw was used to shape the tables appropriately.

bedside table joinery

Adding some 5 inch triangles using biscuit joinery provides additional support for the tables.

table support

Finally, a little work on the back was done. A slot is run up the back for the power to the lamp. Also, two keyholes are just above the table mounting for attaching to the wall. The upper part will be attached with screws through the board hidden by the light fixture.

Wire slotmounting keyholes

Basically, all that is left is to sand, stain, and assemble. Hopefully, I'll have completed images pretty soon.

Labels: , , ,

Monday, January 14, 2008

Question: Bed Joinery

I got an email today from Kris in Bend, OR asking for clarification on how I hid the nuts used to assemble the bed I built.

platform bed

It's actually a fairly simple solution. I embedded square nuts in the inside frame by cutting snug fitting square holes with a chisel. While square nuts are not nearly as common as hex nuts, my local hardware store had a fairly wide selection for larger bolts like the bed bolts I used. So the decorative oak board would hold the square nuts in place when disassembled, I kept the square nuts fairly close to the surface and drilled shallow holes in the oak to receive the small amount of bolt that might protrude from the nuts. Of course, sizing the bolts and carefully cutting the t-slots was also very important. (To be completely honest, I assembled the inside frame before attaching the finished oak pieces and I haven't taken the bed apart since but my hope is that everything is snug enough that I won't have to take the oak off to get the bed back together.) As for the headboard...it goes against a wall, so that hardware was left exposed. Kris, I hope this helps.

platform bed joint

Labels: , ,

1 Comments:

Blogger Ross C. Taylor said...

I have recently disassembled and reassembled the bed with no issues!

December 7, 2009 2:09 PM  

Post a Comment

Hide Comments

Thursday, December 13, 2007

WinDirStat

The December issue of Popular Science includes a reference to a cool, free application called WinDirStat that analyzes your disk space and graphically shows you the results with color coded, appropriately sized rectangles. Given my recent disk space issues, I thought it was pretty appropriate and timely for me to see this now. Below is a screen shot taken from their website (I'm sure they won't mind).

WinDirStat

Labels: ,

Sunday, December 09, 2007

Desk Improvements

After using the desk I built for nearly a year now, I finally got tired of some little issues and fixed them today. From day 1, we had trouble with wire routing. This is mainly because I forgot to leave room for wires when making the sliding shelves. At the time, I rigged a solution by cutting slots for the wires in the shelves but they didn't leave much room for error so we were constantly wiggling wires to make the shelves close fully. Today, I finally fixed the problem. I simply cut a larger notch (1.5" x 5") in the back of each shelf to leave room for the wires. This was done with a simple template I made and a flush trim bit on my router. The first picture below shows an old notch and the template and the second picture shows the results. I can already tell I'm going to be much happier.

desk sliding shelf templatedesk sliding shelf update

Labels: , , ,

Wednesday, November 14, 2007

Windows Desktop Search killing my disk space

I've been dealing with the "low disk space" warning on my home computer (XP) for a week or two and trying to use the Windows tools to free space with limited success. I had finally decided I just needed to get a bigger drive (although I felt like 80GB should be big enough) but in a last ditch effort to free up space, I started going through the folders on my machine to hunt down the culprit. I finally found that the Windows Desktop Search utility, which I never intended to use but which was automatically installed and configured on my machine, was eating up 25GB of space!

I can't believe that I am the only one to ever see this problem but I couldn't find anything online. I disabled it by telling it to not index anything, manual shut it down with the command prompt command: "net stop wsearch" and then deleted the application data folder. No problems so far but that was a serious pain for something I never wanted to begin with.

Labels: ,

4 Comments:

Blogger Ed, Amy, Hannah, & Patrick said...

So where is the Windows Desktop Search utility located, how do I find out how much it's sucking up in disk space, and most importantly, how do I turn it off?

December 7, 2007 11:51 AM  
Blogger Ross C. Taylor said...

Disclaimer: I don't seem to be able to restart Windows Desktop Search so I don't recommend doing what I did.

That said, this is what I did: If the Windows Desktop Search is running on your machine, it should show up as a magnifying glass in your system tray (bottom right for most). Right click on it and select 'Windows Desktop Search Options...'. From here, you can remove all folders that are being searched.

Next, I stopped Windows Desktop Search using the Command Prompt command 'net stop wsearch' to stop it from accessing the files I wanted to delete.

Last, I tracked down and deleted the files. In my case it was easy because it was so huge, I just checked folder properties until I found it. It should be under 'Application Data\Microsoft\Search' which is hidden by default so you have to go to 'Tools->Folder Options' and select 'Show Hidden Files and Folders' on the 'View' tab. This is the folder it was in on my computer: 'C:\Documents and Settings\All Users\Application Data\Microsoft\Search'.

Disclaimer2: This information may not be accurate for all computers and again, I don't recommend deleting the files like I did.

December 7, 2007 5:20 PM  
Blogger Ross C. Taylor said...

Update: I've since learned about a tool called WinDirStat that will make finding your search index (or any other disk space consuming file) very easy. I talk about it here.

December 13, 2007 9:22 PM  
Blogger Ed, Amy, Hannah, & Patrick said...

Thanks for the info and follow up!

December 14, 2007 10:19 AM  

Post a Comment

Hide Comments

Sunday, September 23, 2007

New Look at Taylored Truth

If you've been here before, you should notice a design change. This is an original Elizabeth Taylor design instead of the previous designs which were highly modified Blogger templates. If you prefer one of the old designs, you can access them via the new Archive section of the Links page. The old blogs that are no longer being updated are available there as well. Right now, the album updates are still in work but I hope to finish them tonight. I hope you like the new design.

Labels: ,

Links to Projects Labels

I've been using the Blogger labels for a while now but since I'm moving my projects posts to this blog, I wanted to provide links to the labels on previous posts. That way, if you are looking for posts on a specific topic, you can click on the links below for the older posts.

Labels: , , , , , , , , , , , , ,

Saturday, September 08, 2007

The End of the Projects Blog

Since I've been having trouble consistently posting to the Projects Blog, I've decided to stop altogether. Actually, I'll still post updates on my projects on this blog. I'll use the (relatively) new labels feature with Blogger so if you are only interested in blog entries about my projects, you will be able to find the new ones at http://www.tayloredtruth.com/life/labels/projects.html. Also, I've updated the project's feed so if you are following the blog with a feed reader, you'll also see the new posts. If you have any questions or comments, feel free to post them. Oh, and the older posts are still available.

Labels: