Projects

This is where I will talk about my various projects. This includes home improvement, woodworking, tayloredtruth.com, robotics, and more.

Monday, February 26, 2007

Lighting Projects

outdoor light fixture

Over the last couple of weeks, I've done three lighting projects. First, we had these really ugly outdoor lights on the back patio that we wanted to replace but hadn't gotten around to yet. One of the bulbs burned out so that was our motivation to take care of it. Sorry I don't have any before pictures but I've included an after picture. Not that it is particularly exciting, but there is also a picture of the other one in the album.

old chandelier

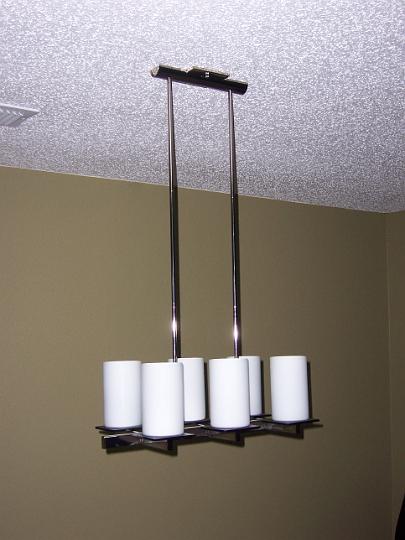
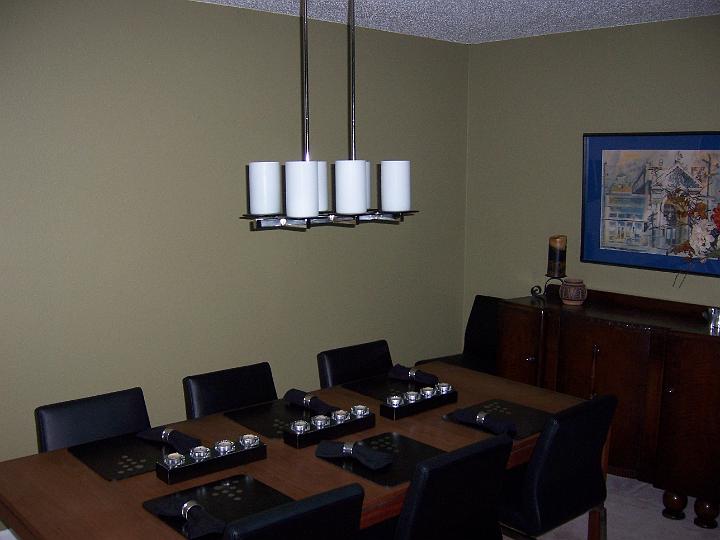
The second project was a little more involved. E got a new dining room chandelier for Christmas to replace the beautiful thing you see on the left (in mid-removal). Of course, it wasn't as simple as just replacing the existing one; it had to be moved as well so I started by patching the existing hole. This is the first time I've done this before so I'm pretty happy with the results. If you look closely, you can tell where it was but it certainly doesn't stand out. Anyway, I used this real popcorn ceiling stuff that came in a tube and just had to carefully apply it to get a similar texture to the rest of the ceiling. Next, I moved the ceiling box and cut a new hole for the new chandelier. Here are a couple pictures of the finished job.

new chandeliernew chandelier in room

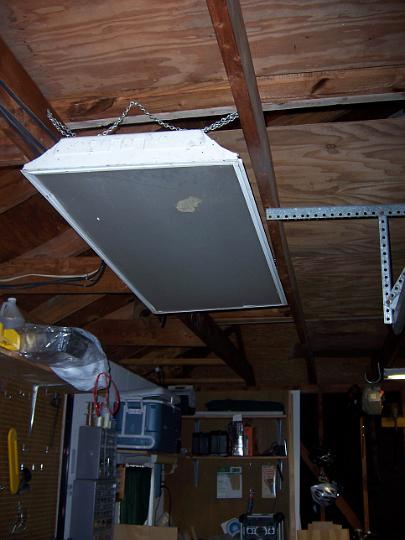
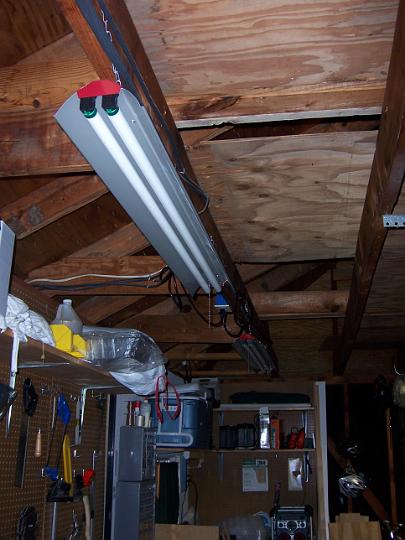
The last project was simply replacing the light over my workbench in the garage with a couple of new lights. The old one was broken and only occasionally worked. It's nice to actually be able to see out there now. Here are the before and after pictures.

old garage lightnew garage light

I'm actually planning to do a little more lighting work coming up. I am probably going to put another one of the outside lights under the patio and I've got a couple more lights for the garage. Both of those projects require running wire though so I might not get to them right away.

Labels: , , , ,

Sunday, September 03, 2006

Kitchen Makeover: Part III

complete cooking area

It is easy to forget exactly how much work we have done in the kitchen until I start trying to document it all. We left off with the countertops having just been put in. After that, we had professional tile layers come in and put up the backsplash. We, also, added knobs and handles to the cabinetry and painted the walls in a tan color. With these changes, the cooking area of the kitchen was mostly complete.

Next, attention was focused on the long wall with the wayne's coat. We pulled the wayne's coat off but it had been attached with liquid nails so it tore up the drywall. After about a week of E and I both trying to fix the dry wall and match the existing texture, we finally gave up and had painters come in. They were smarter and smoothed the whole wall and then retextured instead of trying to match the existing texture.

baseboard

Lastly, we put in new baseboard. Because the tile had been installed after the wayne's coat, the baseboard had to be pretty thick to cover the gap. As you can see, we just used a very simple design. We also, put it under the cabinets and just the small piece of baseboard around the back side of the island. Putting it under the cabinets meant it needed to go in front of the dishwasher base. This is a problem because the dishwasher sticks out a little and because I didn't want to have to remove the baseboard to get to the dishwasher. I solved this by attaching a piece of baseboard to the dishwasher with magnets. It stands out a little , but is hardly noticeable in person.

That pretty much wraps up the major changes to the kitchen itself. There are a lot more pictures in the house album. I've since added some shelves to the long wall that I'll write about next and I am currently building a desk to go in the breakfast nook. There will be plenty of time to write about that because there is still much left to do.

Labels: , , , ,

Saturday, August 19, 2006

Kitchen Makeover: Part II

kitchen before

Elizabeth and I have done a lot of work on our kitchen. Like I said in Part I, we really didn't like the kitchen when we moved in so we started making changes immediately. However, there was some fairly significant design changes to make, so we started off slow (again, see Part I). I am now going to start talking about the major changes. Unfortunately, we did not document the work very well in pictures but at least you can see the results. As a reminder, I've put in a before pic.

undercabinet light

The first thing E and I did was refinish all of the cabinets, doors, and drawers. We wanted them to be darker than they were so we just did a light sanding job and then put a couple of coats of a darker stain on. Next, Elizabeth's dad, Kim, helped me to tear out the old countertops, all of the old tile, and the drywall that was behind the tile. He and I then reinforced some of the joinery in the wall with some 2x4 and installed some undercounter lighting that I rewired with appropriate wire so that I could run it through the wall and connect it to the existing switch for the sink light. Lastly, we installed tile backerboard for the new tile that would be installed.

E and I then had Silestone countertops put in along with a new sink, faucet, and cooktop we had purchased. Of course, I then had to figure out how to adjust the plumbing to work with the new sink layout and I had to hook the new cooktop up to the gas line that we had run. We also had a professional do the electric conversion from a hardwired 240V to a 120V plug for the new cooktop. Here are some pictures of the work and results and there are more in the House Album.

new sinkplumbing
new cooktopcooktop hookup
kitchen in work

Labels: , , ,

Wednesday, July 12, 2006

Kitchen Makeover: Part I

The only part of the house that Elizabeth really didn't like when we moved in was the kitchen. With the greens and whites, it definitely had a country feel (see before pictures below) and if you haven't been able to figure it out yet, our style is more contemporary. Anyway, I agreed that we could overhaul the kitchen and E set out designing. However, while she was deciding on a design, a few things had to change as a temporary fix.

before picture of breakfast nookbefore picture of kitchen

The most obvious change we made was the paint color. We painted most of the room a reddish orange color and the wayne's coating white. However, the more subtle changes actually make a big impact when your in the room.

after picture of breakfast nookafter picture of kitchen
As you can see, we took down the blinds and whatever you call that window covering and just left the windows open. We will probably put something back up eventually, but it actually isn't bad with nothing. I also replaced the lights over the sink and the kitchen table with recessed lighting. This was actually kind of fun because I got to use the reciprocating saw to cut the larger holes. I even had to cut out the old light fixture over the sink because I couldn't get to that part of the attic to remove the old mounting hardware.

The last two changes are that we painted the fluorescent light fixture and changed the plastic inserts. The surround was a natural wood color and the inserts were the standard textured type. The white makes it stand out less and we used inserts with a square pattern that is more contemporary looking. Lastly, we replaced the wall plates with brushed metal plates.

This is how our kitchen looked for a while before E finalized her designs and we made the big changes. I'll have details on those soon.

Labels: , ,