Taylored Life

To keep people informed of what the family has been up to...

JDT Birthday TickerAMT Birthday Ticker

Saturday, February 16, 2008

New Fans

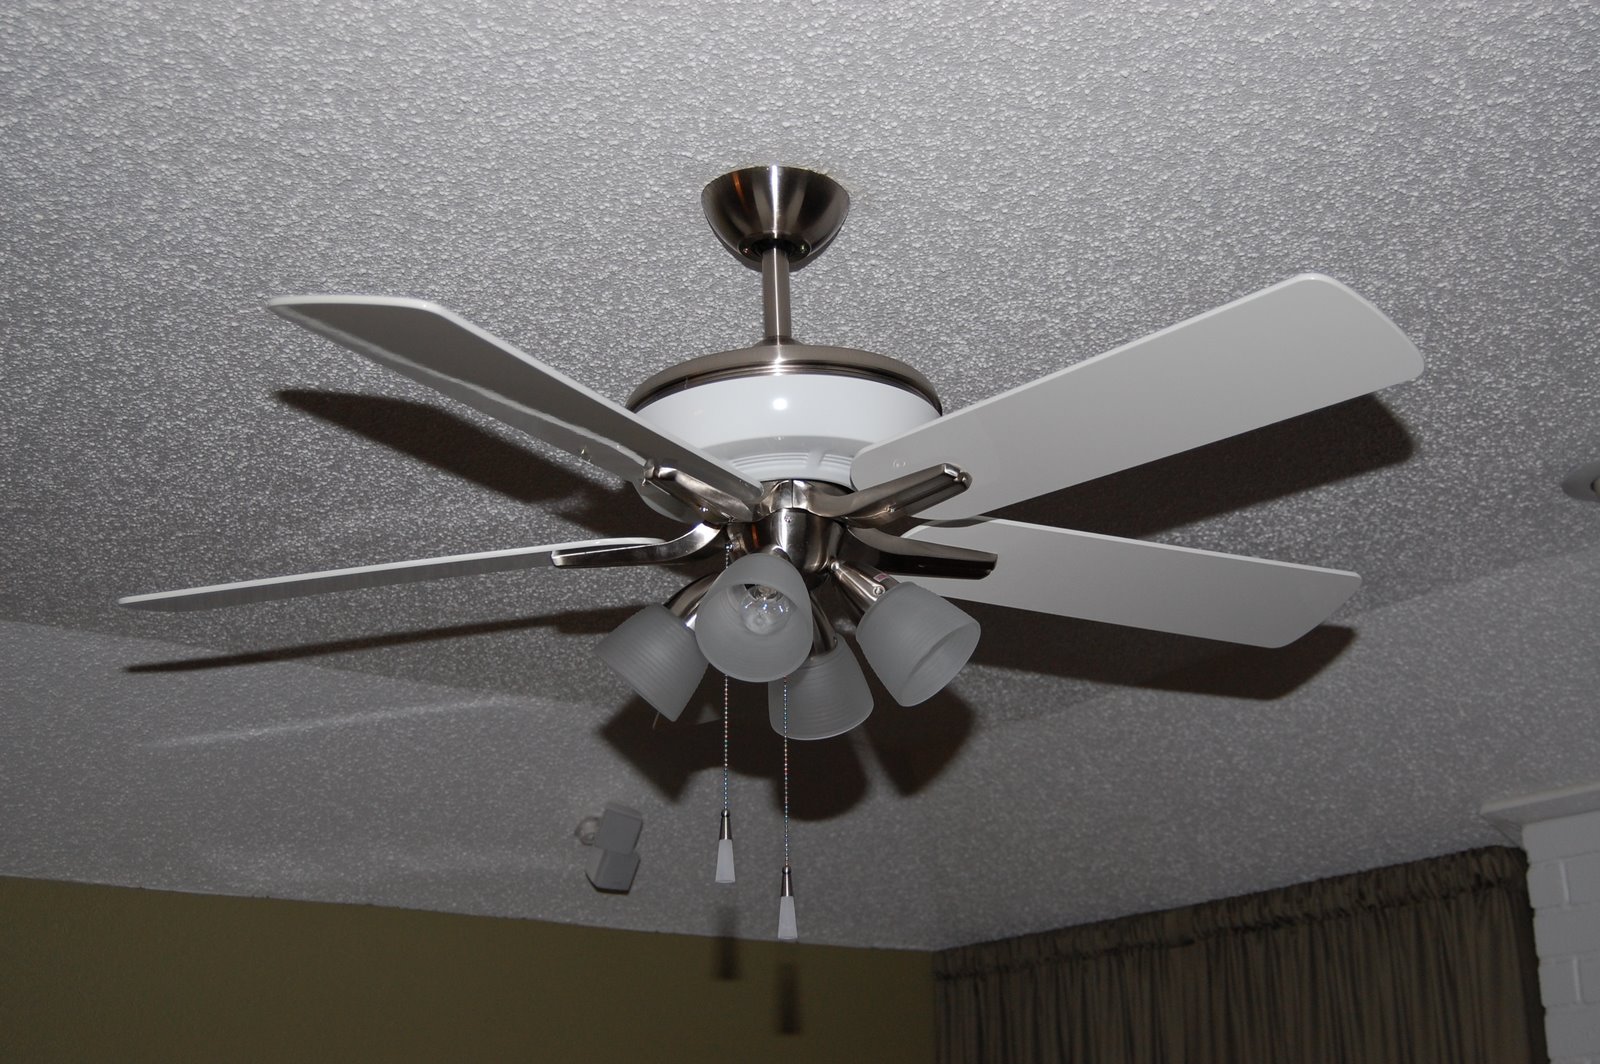
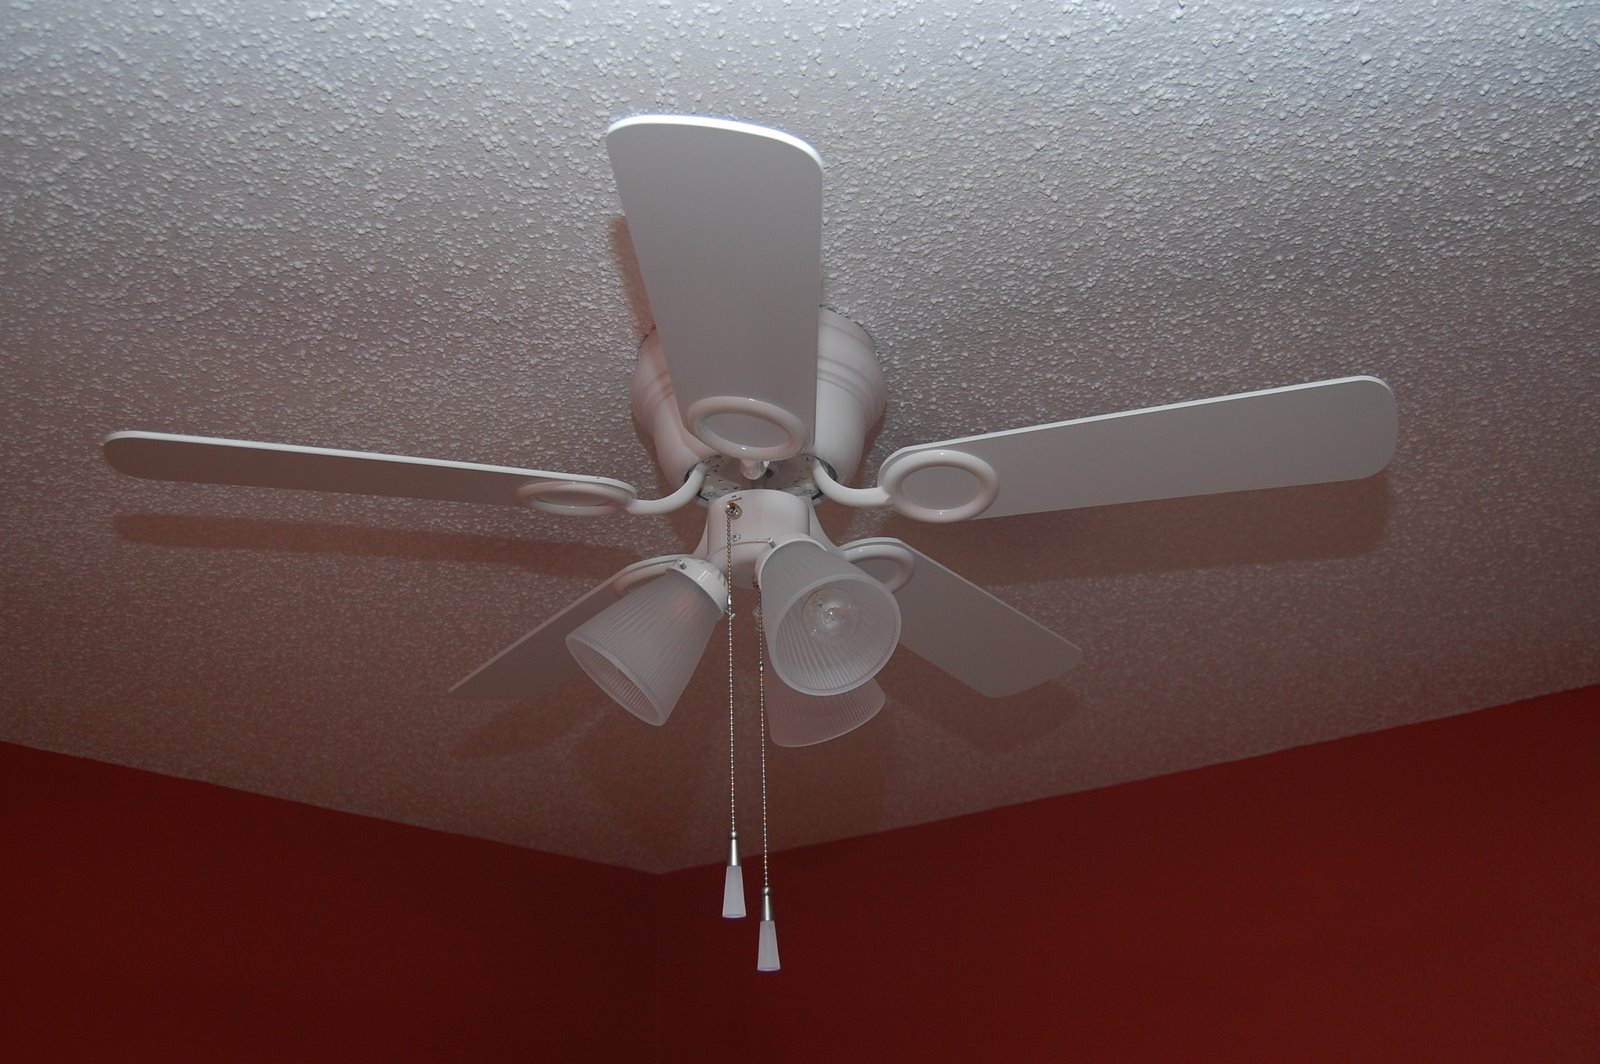
I spent the vast majority of the day today hanging 3 new fans. Elizabeth has hated our fans since we moved in and we've just been putting it off. After putting one up in Jackson's room a couple of weeks ago, we realized that it isn't that big of a deal. We got the 52" Harbor Breeze Tiempo in white (first picture) for the living room and our bedroom and the 42" Harbor Breeze Cheshire in white for the guest room (second picture), which is also what we put in the baby room. I've definitely come to the conclusion that, if you want to make a quick update to your home to sell or just so that it feels newer and you only have a few hundred dollars to spend, the best bang for the buck is paint, fans, light fixtures, and shower heads. These things are relatively inexpensive and make a huge impact.

Living Room Fan
Guest Room Fan

Labels: , ,

Tuesday, January 29, 2008

Bed Side Tables

For the first time in six months, I've done some work on the headboard for our bedroom. I've been putting it off partially because of the complexity of what I am trying to do. If you aren't familiar, see this post which talks about the design and shows a drawing of the plan. Basically, I'm trying to create bed side tables with integrated lamps that hang on the wall as part of the headboard. Incidentally, we've added the pictures to the headboard but I haven't uploaded an image yet.

The tables are cantilevered from the vertical board but are about twice as wide as the vertical board so the joinery is not straightforward. The picture below shows the dry fit tables and a more detailed description of the work follows.

bedside tables

First, I created a simple jig to rout slots in the vertical boards.

Router JigRouted Slot

Next, a little chisel work squared off the slots and a dado blade on the table saw was used to shape the tables appropriately.

bedside table joinery

Adding some 5 inch triangles using biscuit joinery provides additional support for the tables.

table support

Finally, a little work on the back was done. A slot is run up the back for the power to the lamp. Also, two keyholes are just above the table mounting for attaching to the wall. The upper part will be attached with screws through the board hidden by the light fixture.

Wire slotmounting keyholes

Basically, all that is left is to sand, stain, and assemble. Hopefully, I'll have completed images pretty soon.

Labels: , , ,

Sunday, September 23, 2007

Links to Projects Labels

I've been using the Blogger labels for a while now but since I'm moving my projects posts to this blog, I wanted to provide links to the labels on previous posts. That way, if you are looking for posts on a specific topic, you can click on the links below for the older posts.

Labels: , , , , , , , , , , , , ,